


Zapier is a platform that integrates over 1500 platforms. On Zapier, you can create Zaps that will perform Actions when specified Triggers happen. An example of a Zap would be:
New Lead Comes into XILO > List the Lead Info on a Google Sheet
In this Zap, the Trigger is a new lead coming into XILO and the Action is listing the lead information on Google Sheets.
Now that you understand how the integration works, let's setup your XILO and Zapier integration.
Note: These instructions assume that you've already signed up for Zapier and have been invited to the XILO Zap. If you have not been invited to the XILO Zap, please request to be invited by emailing customer-sucess@xilo.io.
1. Make a Zap
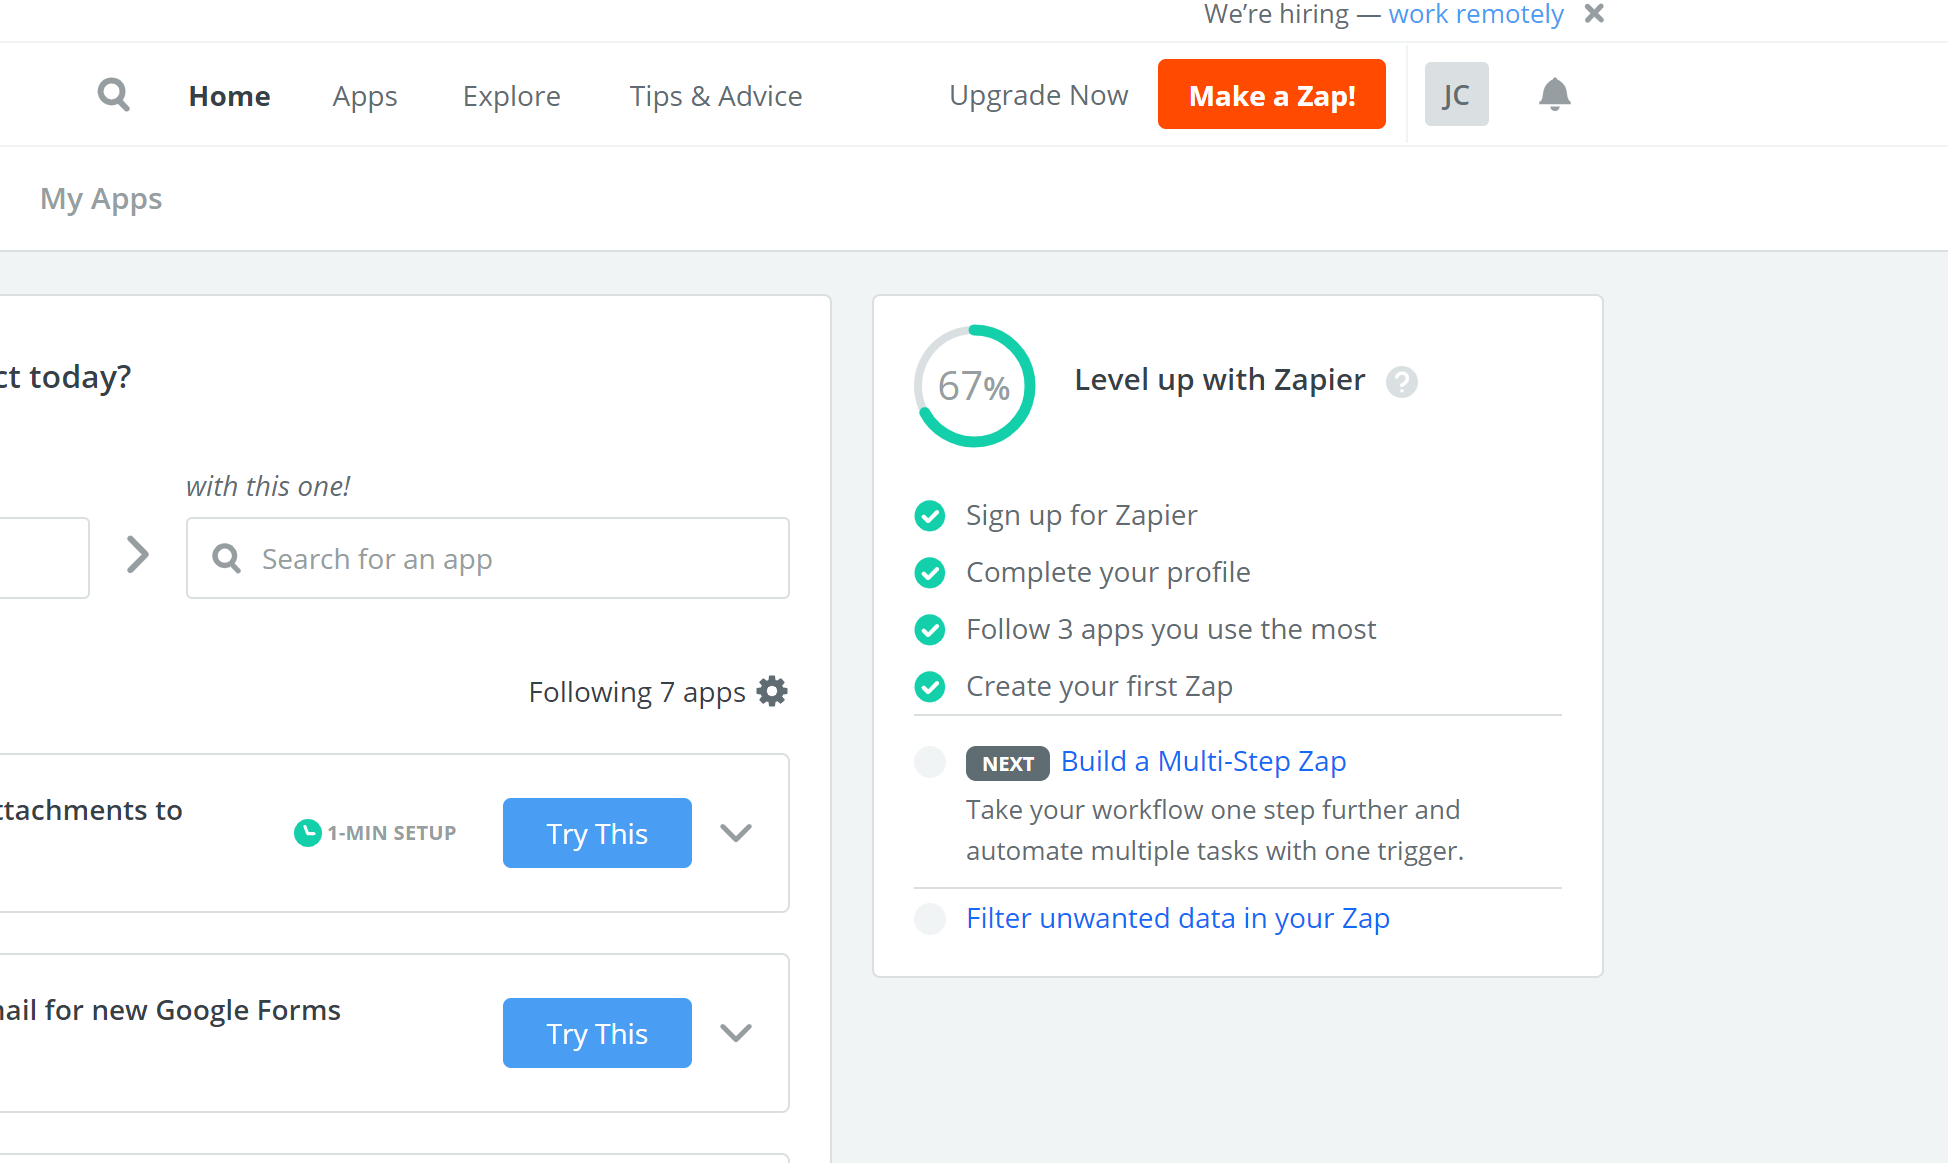
On the Zapier home page, click the bright orange "Make a Zap!" button in the top right corner of the page.
2. Choose the XILO App and Your Trigger
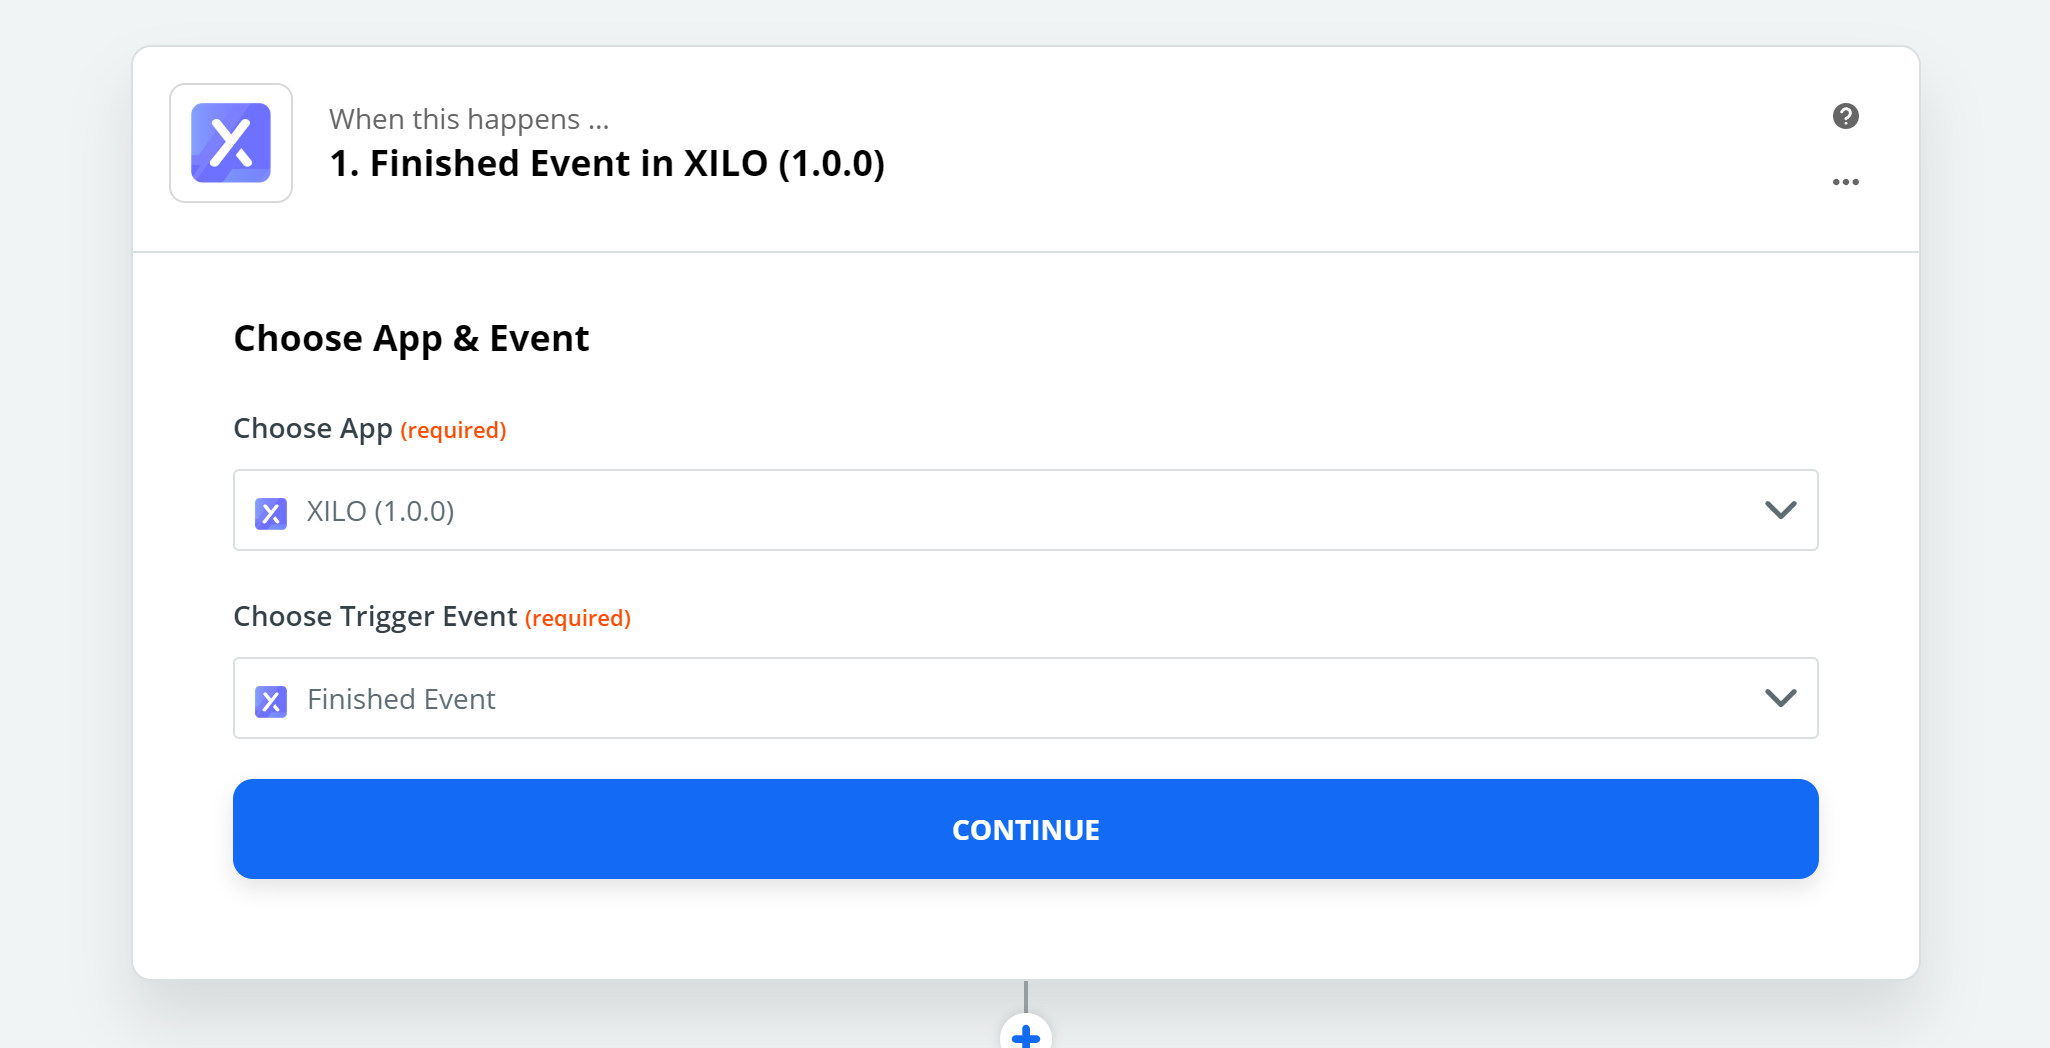
If this Zap is triggered by XILO, you will want to choose the XILO Zap under "Choose App" for the first step. Then, you want to choose the appropriate trigger event. Here are the available events right now
- New Client/Home/Driver/Vehicle - This event is fired anytime a new object is created. For example, a visitor is filling out a form and adds a Driver.
- Finished Event - This event is fired when a visitor finished a form.
For this example, we're going to select the "Finished Event". Press continue once you are finished.
3. Grab The XILO Company ID and Select Your Form
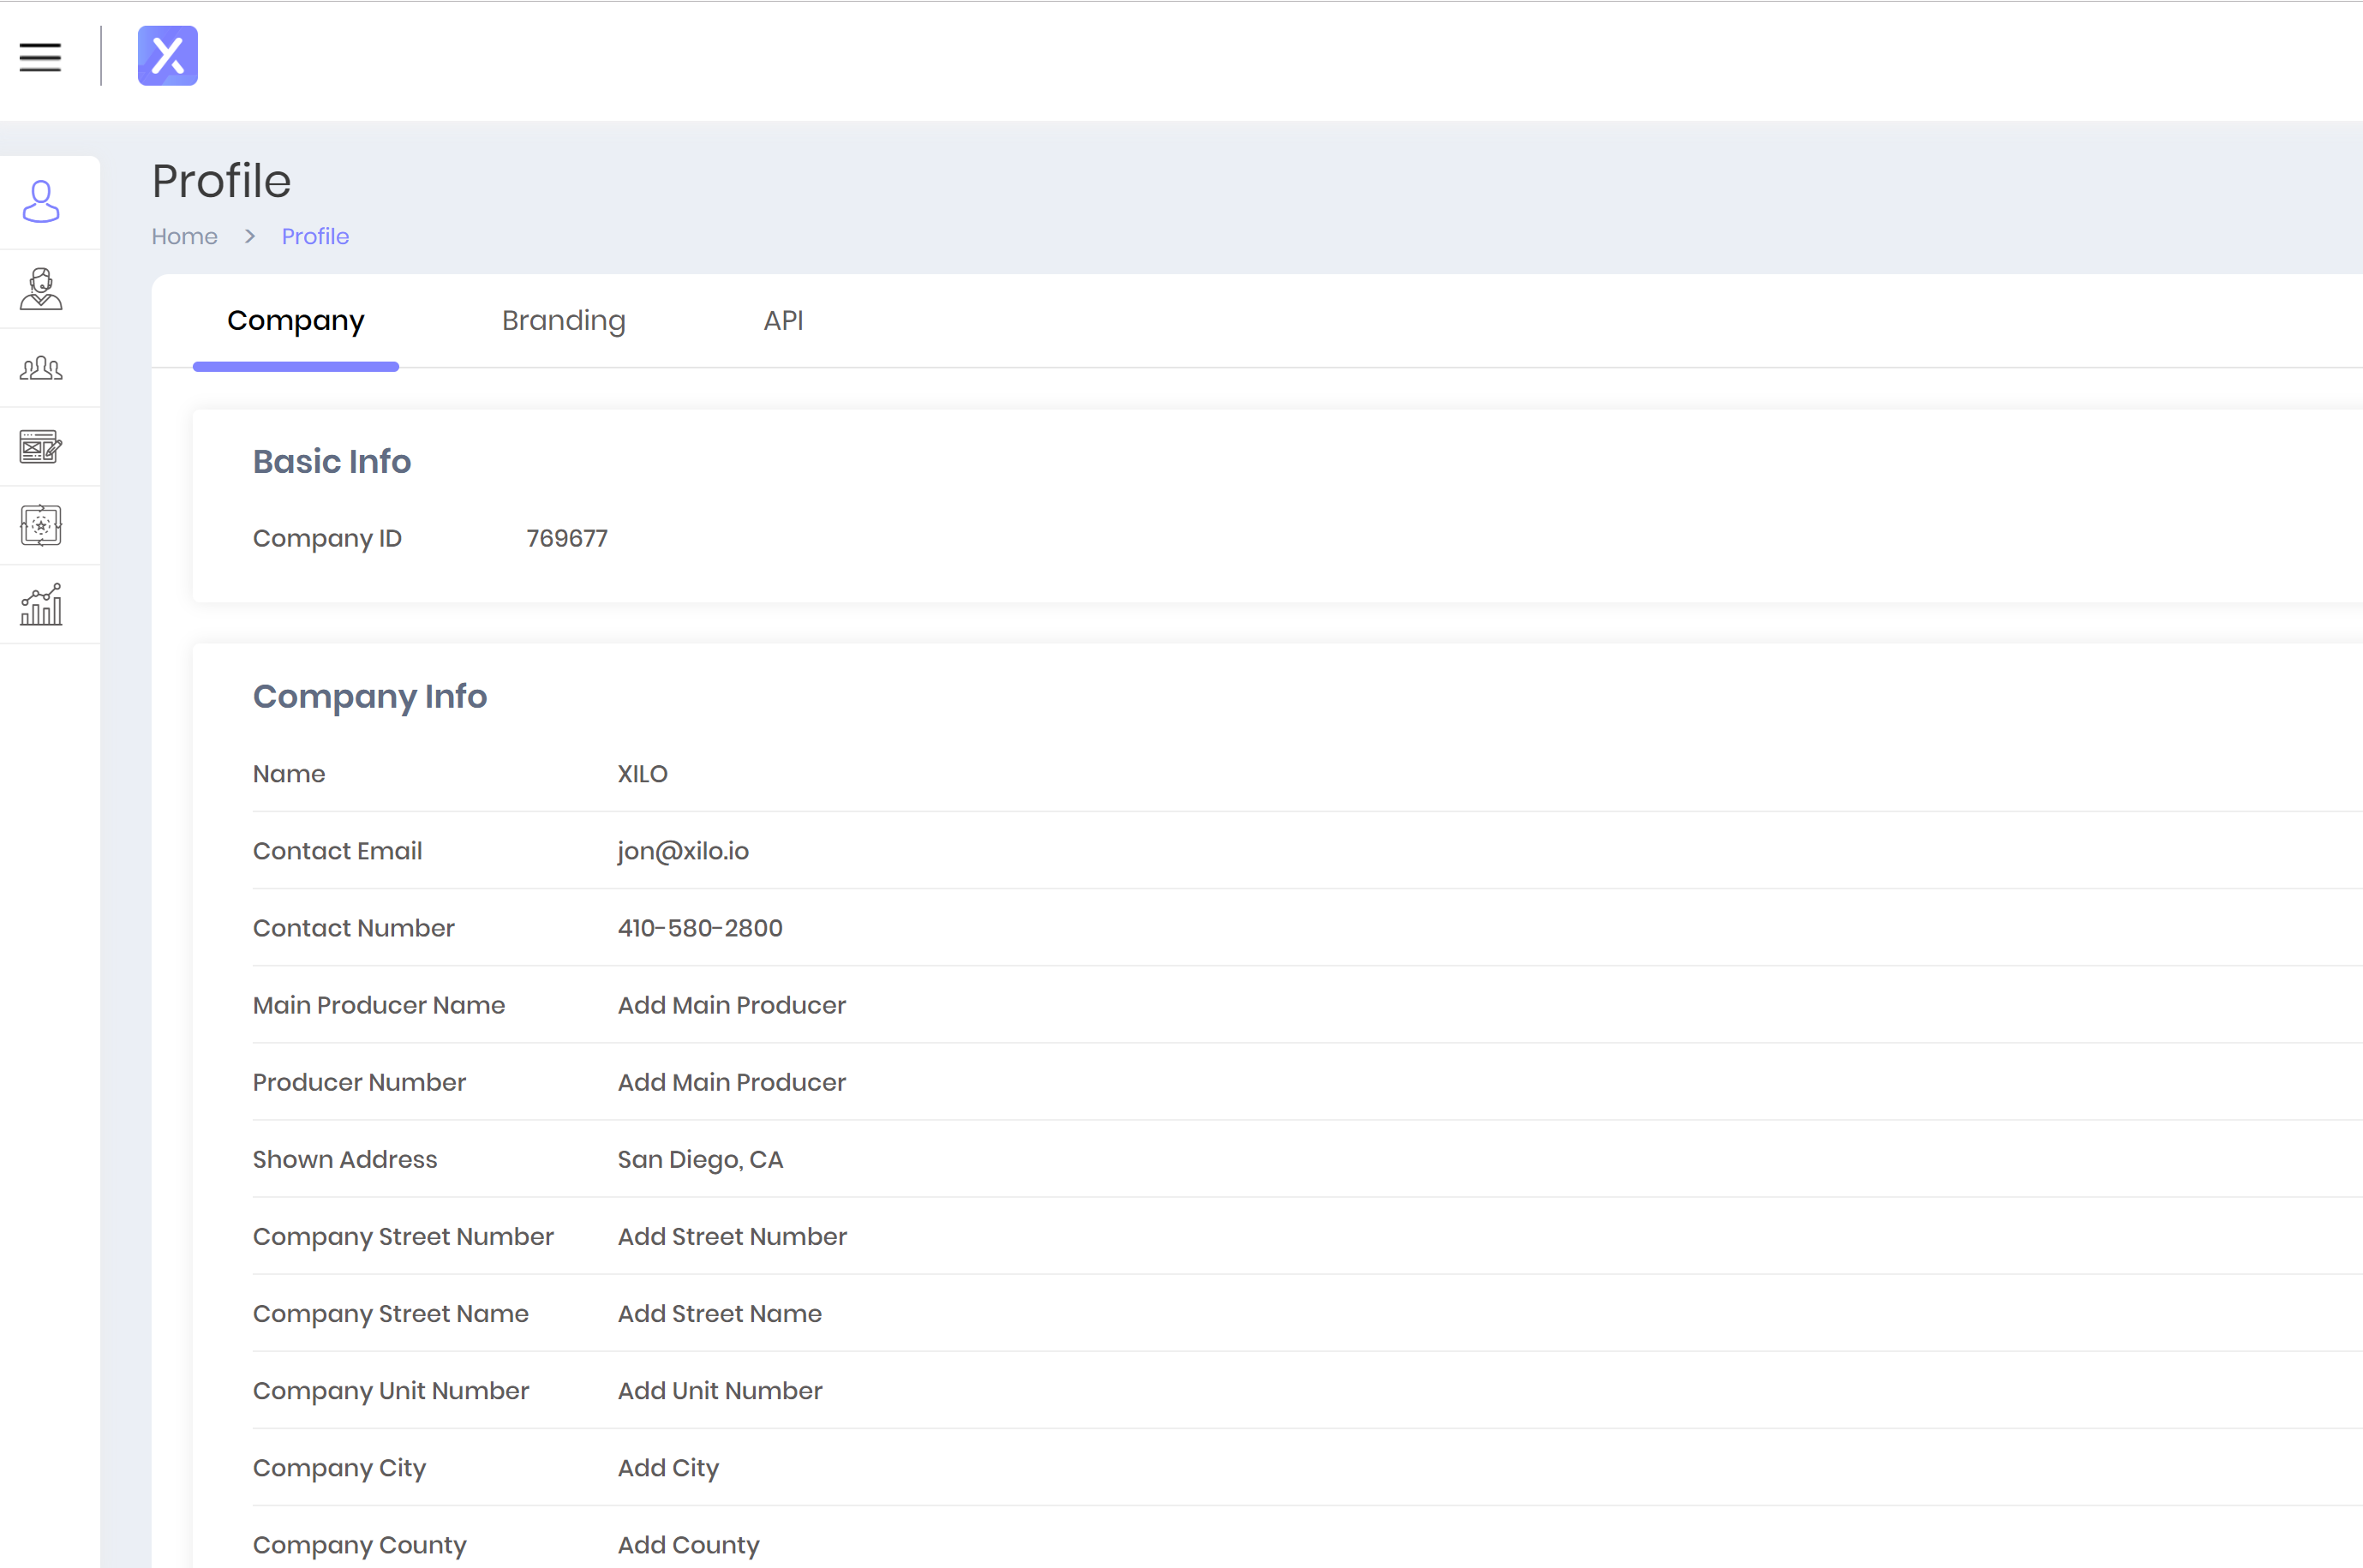
To move forward you have to enter in your company ID and the form you are pushing data into. Go to dashboard.xilo.io and login. The first page you land on after login has the company ID (seen in the screenshot above). Copy that ID and paste it in the "CompanyId" field on Zapier. Next, click into the "Form" select menu right below the "CompanyId" field. This will load all of your forms to choose from. Choose the appropriate form that you want to trigger the Zap with.
When complete, click the big blue "continue" button. This will move you to the Testing phase which we will skip, so click "SKIP TEST" to move forward.
4. Select The App You Want To Zap Data In To
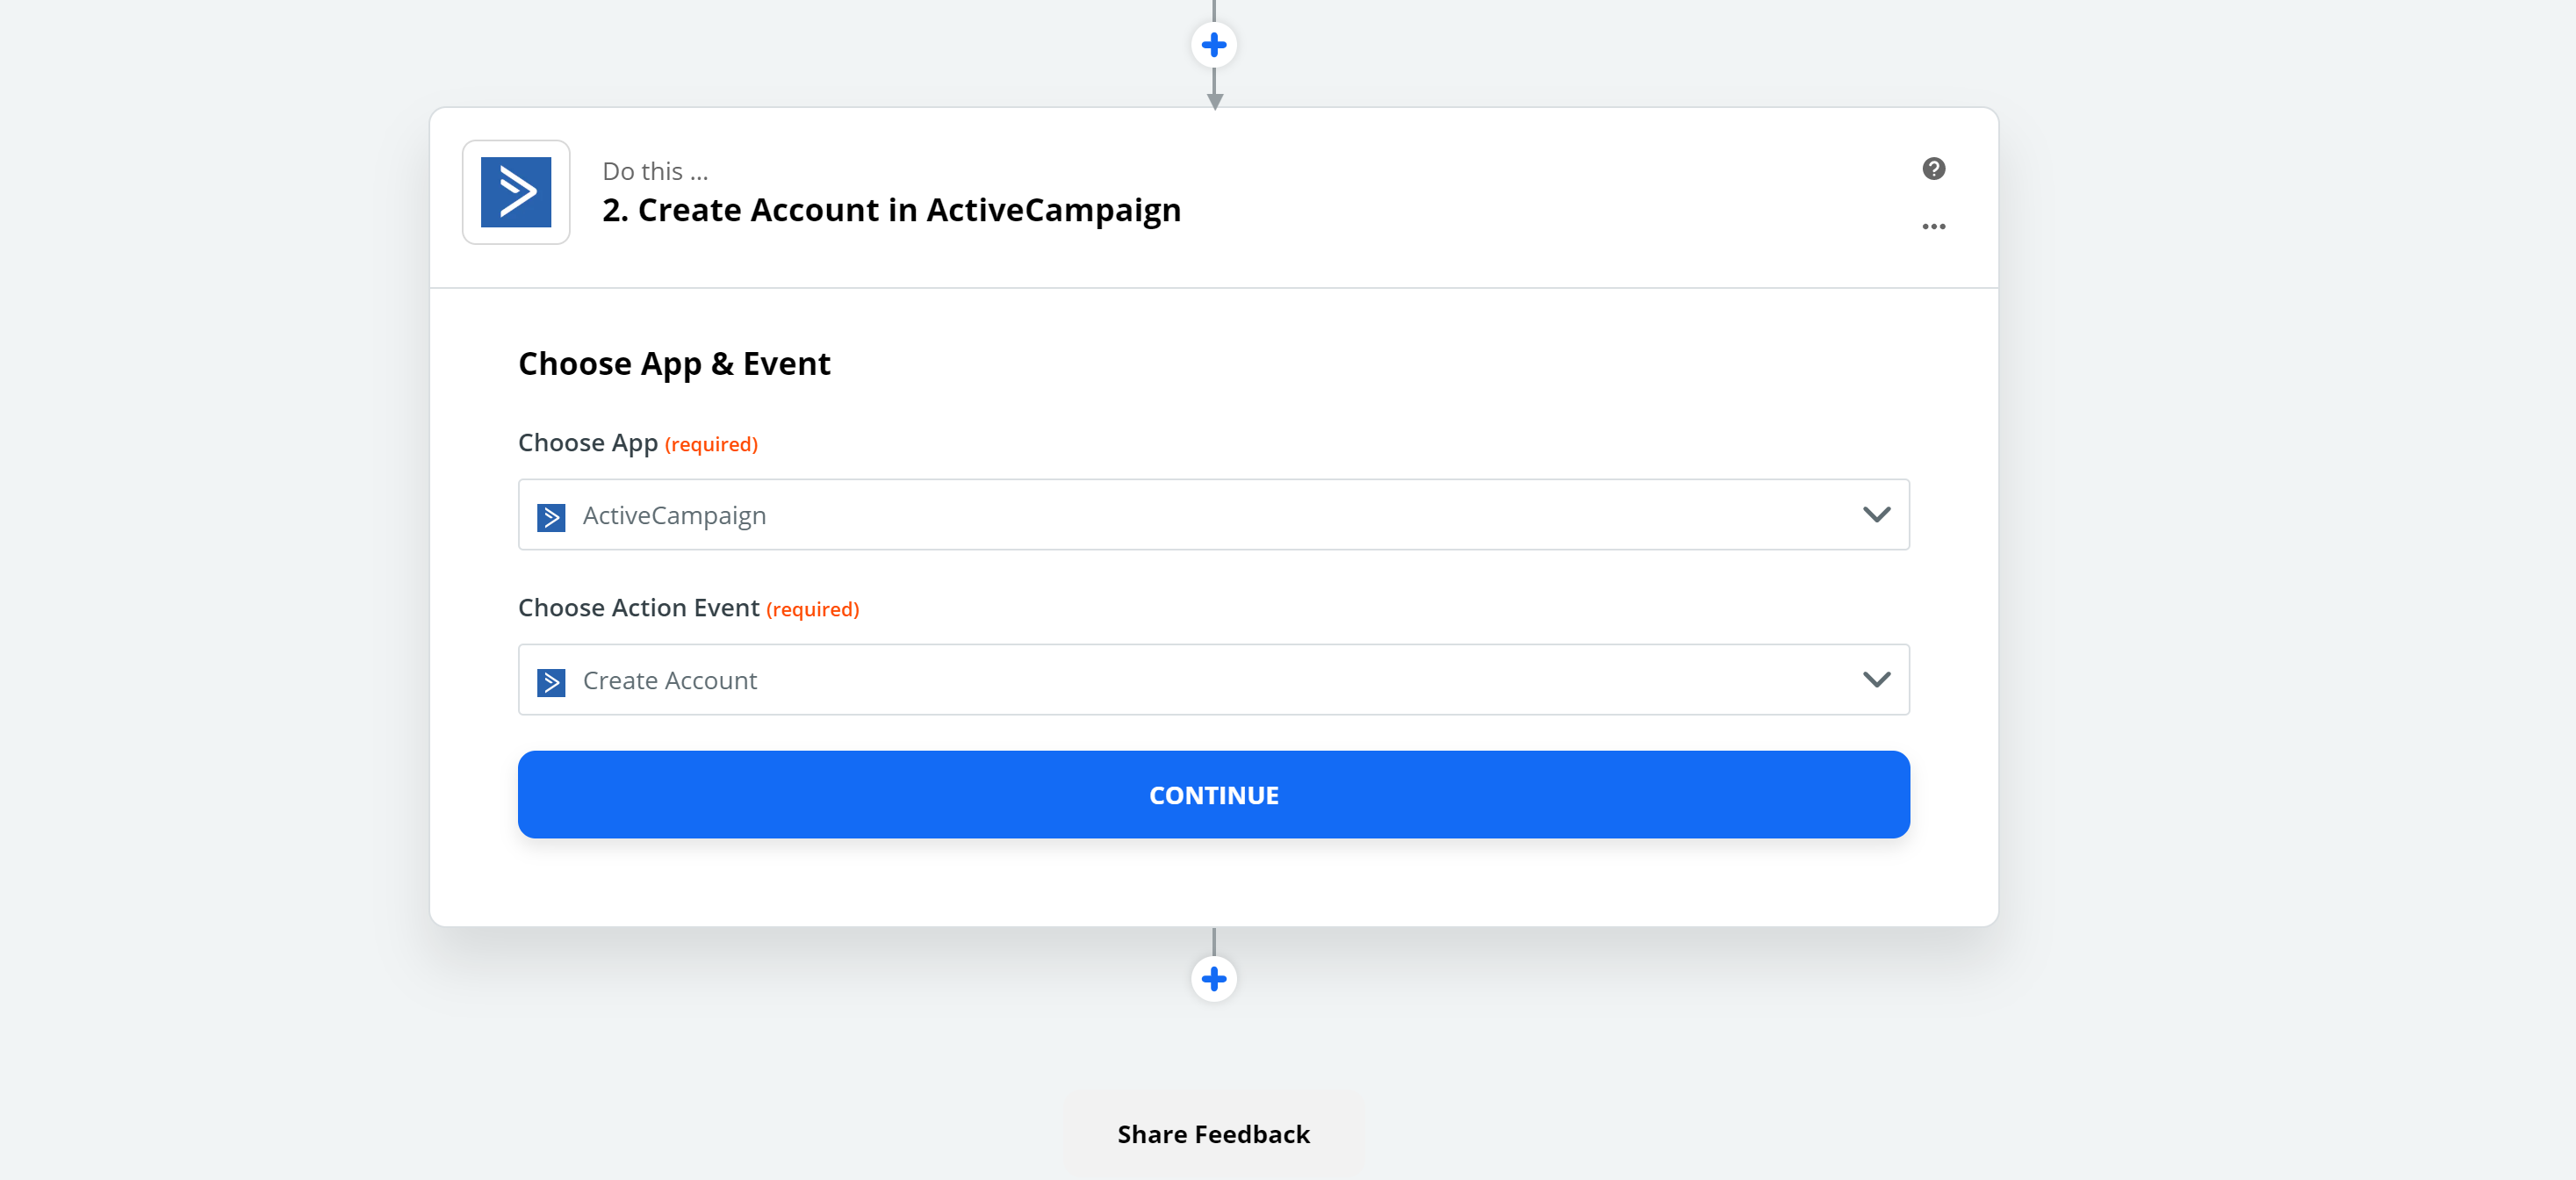
Next, enter in and select the app you want to Zap data into. In this example we chose "Active Campaign". Then, select the Action Event you want to Trigger with this Zap. In this example, we chose "Create Account".
With this setup, every time a prospect finishes a XILO Form, Zapier will Zap the data into Active Campaign to create a new account.
Finish setting up your app as it may be different than the "Active Campaign" setup.
5. Map the Fields From XILO to App
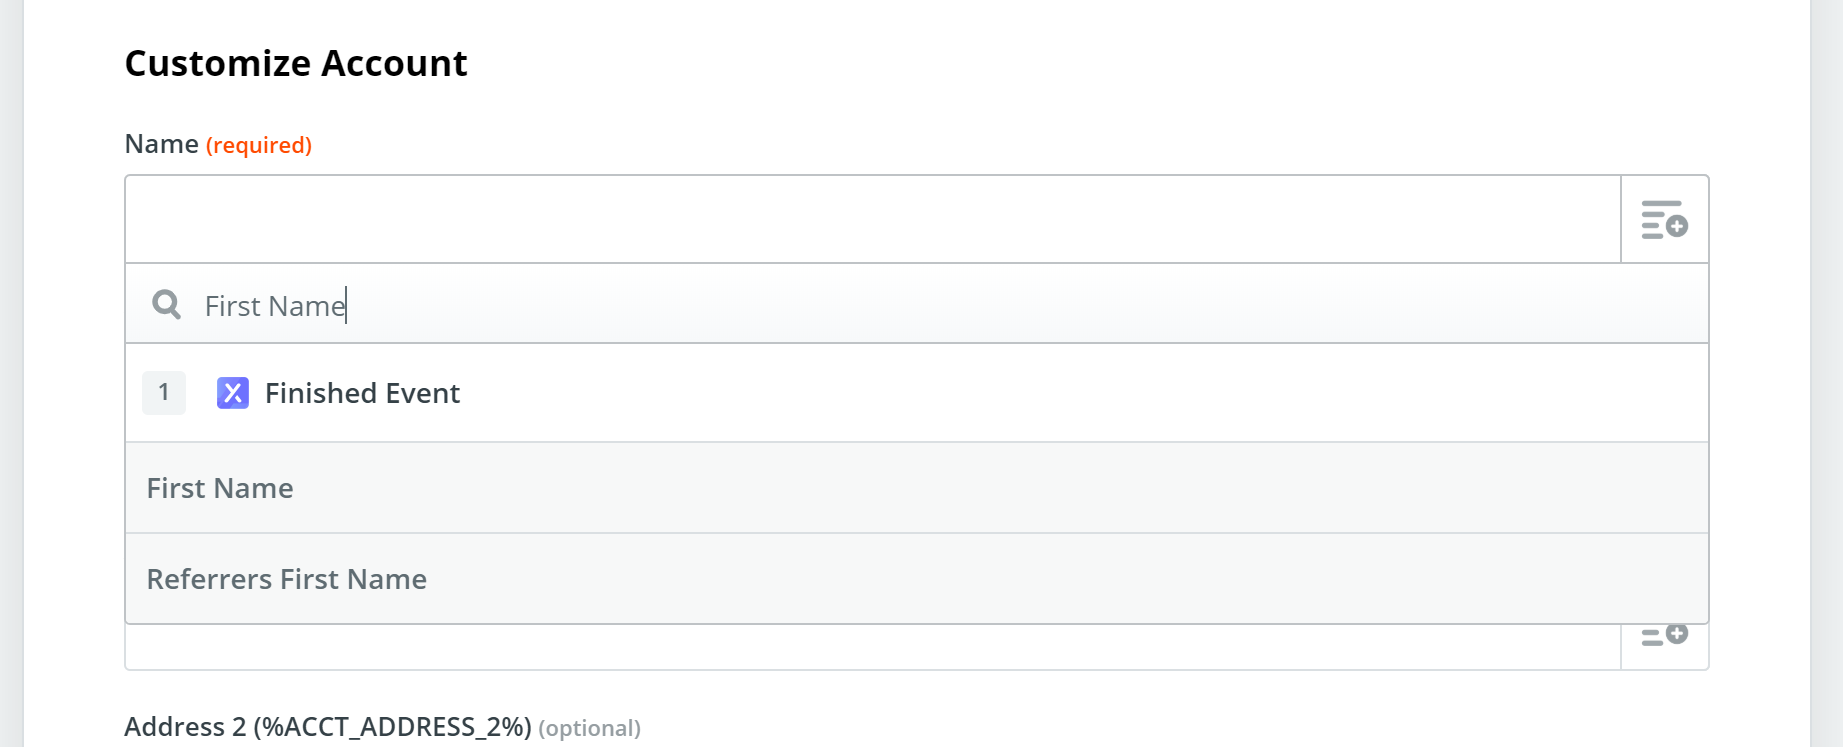
In order to push data into your application, you need to map the fields. Click the + box on the right side of each field to search through XILO's fields. Once you've found the correct XILO field, select it and then the mapping is complete! In this example, we mapped the "Name" field on Active Campaign to the "First Name" field on XILO. You will need to do this for all fields that you want to map.
Final Notes
In this example we pushed data from XILO to another application. The process is very similar for pushing data from an application into XILO. You just need to select the apps and map the fields. If you find a field you need is not on XILO, let us know at customer-success@xilo.io and we'll either add the field or direct you to it.


